
The technical starting position
During work, cables are sometimes rerouted, pinched or reconnected. A camera may then temporarily display images while a connection or seal has become damaged.
A renovation can touch an existing cable route without the camera immediately being visible to fall out; a directed end test prevents hidden malfunctions.
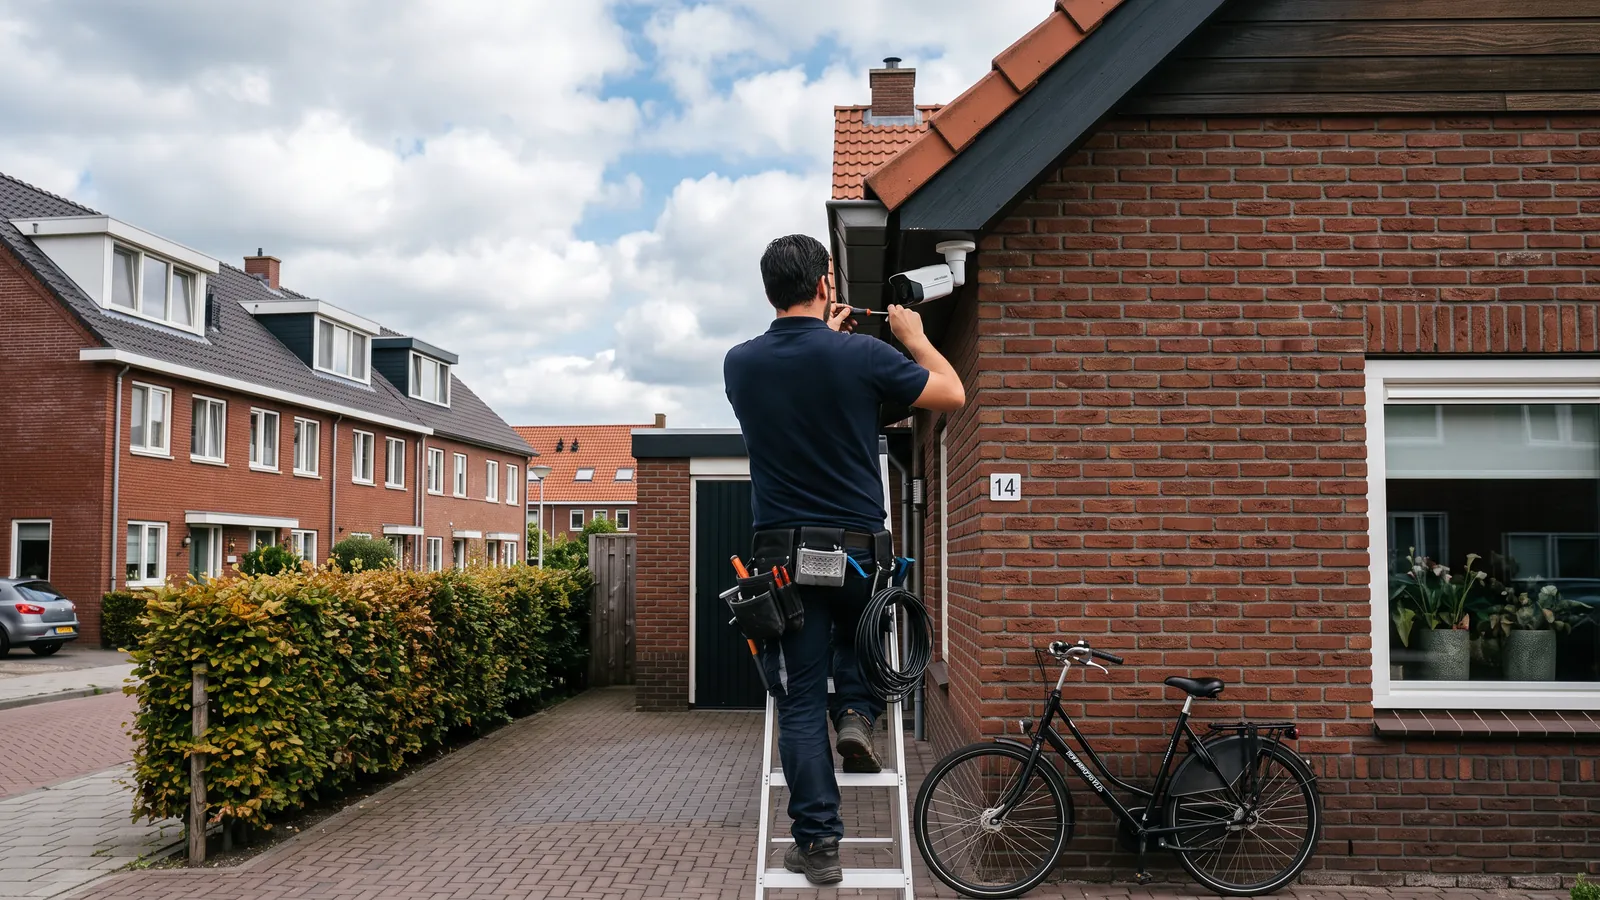
During work, cables are sometimes rerouted, pinched or reconnected. A camera may then temporarily display images while a connection or seal has become damaged.
Compare each camera with the old channel and port list and view routes that have been opened or modified. Also check external inputs, wall penetrations, and power supply in technical rooms.
Weak points found before finishing is closed and work route and photo documentation is attached. Do not add unknown couplings that will not be reachable later after finishing.
Test live view, recording and demanding functions such as night vision after the work is done. Allow a second check to take place before the final access points disappear.
Pictures alone do not prove that recording, power supply and the new physical route are sustainable.
Evaluate at least all the modified and critical routes directed.