
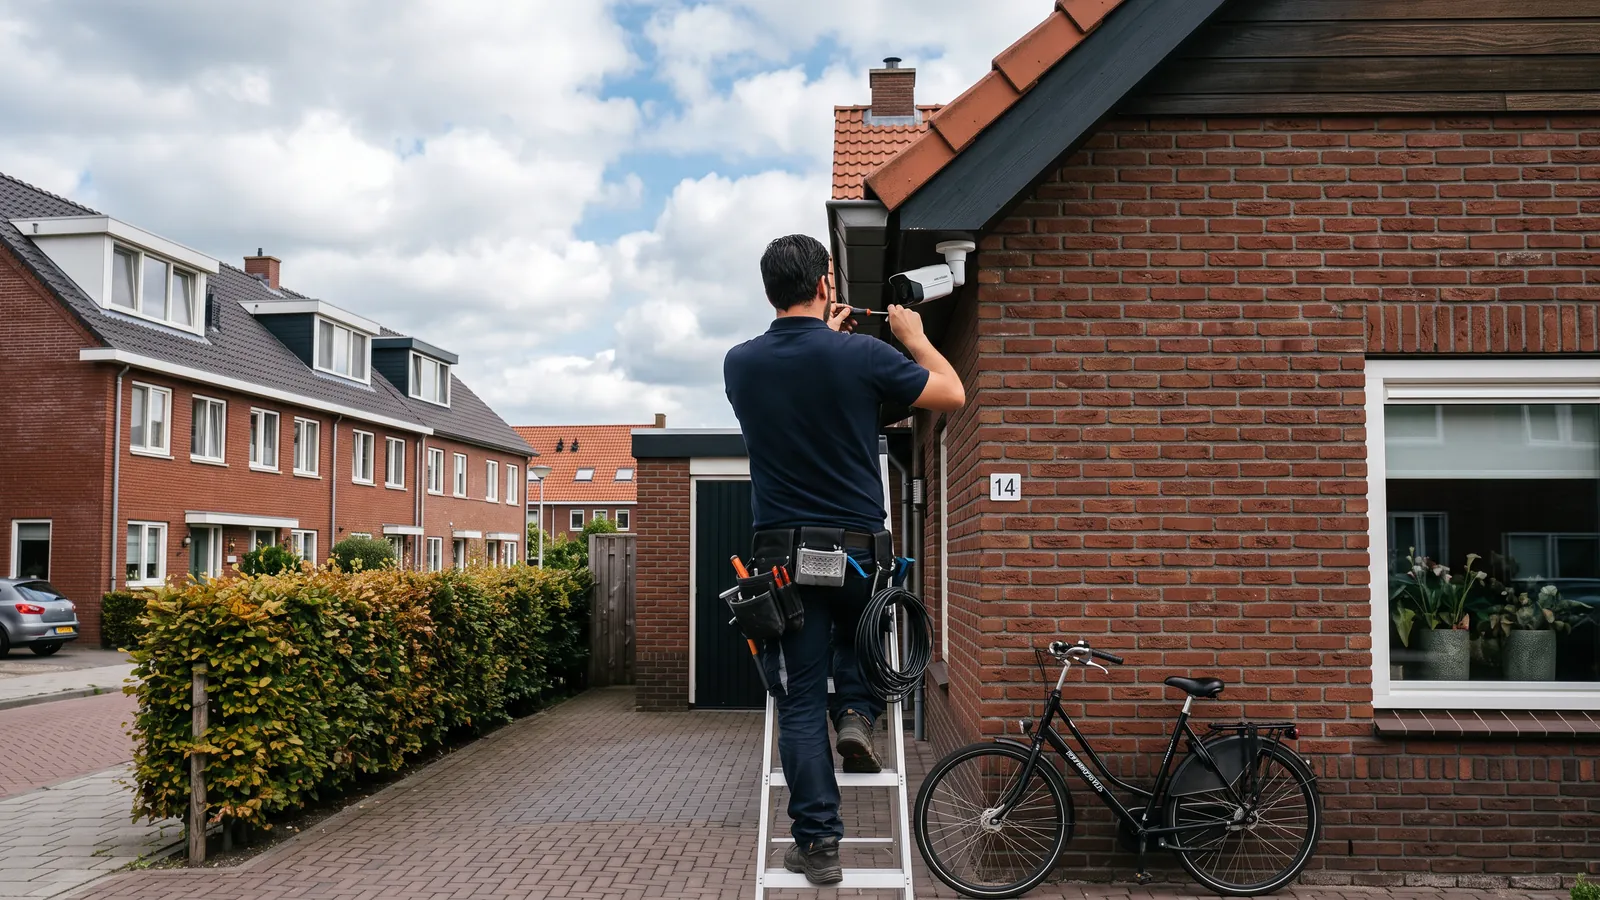
Apartment

camera · Apartment

Security camera: adjust settings for an apartment

Security camera: adjust settings for an apartment. Adjust the viewing angle with someone walking through the relevant zone.

IP Camera Installatie: More than 2,000 businesses helped. View our projects · Read customer reviews

Fixed price in advance Our own technicians 085 - 02 12 771
Security camera for an apartment

Prepare the work

Adjust settings tailored to an apartment

Adjust settings for an apartment starts with the parts that need to change. A security camera only provides usable evidence when height, lens, light and field of view are aligned with the target.

The own front door and shared entrance have different responsibilities. We include Coordination with the landlord or VvE and reuse of wiring in the assessment and agree on the work with residents.

What we check and deliver

  • Check mounting material and accessible cable routing.
  • Test the image with normal outdoor lighting on.
  • Search for the test recording back on the scheduled device.
  • A existing camera can often be reinstalled, but the required mounting foot differs depending on the model.
  • Agree on the work with residents.
01

Adjust settings at an apartment

Please distinguish between your own home and common areas in advance. For work on a shared entrance or cable route, coordination with the appropriate management authority is required. Include existing connections before a proposal assumes free access to a shaft or meter box. For adjust settings, we first discuss Coordination with the landlord or VvE and reuse of wiring with residents. The desired control determines which settings are needed. Mounting too high provides a view but costs recognition; we make that decision consciously per position. We also consider how The solution must not disturb other residents.

02

Which settings should be suitable for everyday use? · Apartment

Adjust the viewing angle with someone walking through the relevant zone. Then check the detection area, any shielding, and recording. Alerts should refer to the agreed zone, not to every movement at the edge of the image.

03

Is the chosen mounting place suitable for this camera?

Check the location with a test image. A wall directly next to the lens can reflect night lighting; an overhang can block part of the view. The connection point must be protected from moisture and the cable must be able to be finished without pulling on the connector. Mounting point, cable route, power supply and connection are checked in advance with the live image included. For an apartment, we assess Coordination with the landlord or VvE and reuse of wiring. The key question at this stage is: Which settings should be suitable for everyday use?

04

Preparing security camera

Send the exact camera model, a photo of the ground and the location where power or network cable is available. A standalone camera may require a recorder, memory card, or manufacturer account to use the desired features. For an apartment, we arrange access with residents. Start with the users and their tasks. Make a distinction between viewing, operating, and managing. Document the starting situation, modify with focus, and test with a regular user. Indicate during the handover which settings can be independently adjusted and when technical advice is needed. Explain Coordination with the landlord or VvE and reuse of wiring in advance. Send photos of the equipment and connections without showing access codes.

05

Decisions before adjust settings

A existing camera can often be reinstalled, but the required mounting foot differs depending on the model. Do not place an overview camera and a recognition camera at the same height automatically. We document the existing configuration and test the change with the user. The choice must suit this situation: The own front door and shared entrance have different responsibilities. You can use the agreed features with appropriate access rights.

06

How we check security camera

Check mounting material and accessible cable routing. Test the image with normal outdoor lighting on. Search for the test recording back on the scheduled device. You can use the agreed features with appropriate access rights. At an apartment, we check the result with residents and confirm how The solution must not disturb other residents. We record which functions were tested and any remaining limitations.

Our process

From planning to a working handover.

  1. 1

    Assess

    Coordination with the landlord or VvE and reuse of wiring

  2. 2

    Carry out

    We document the existing configuration and test the change with the user.

  3. 3

    Hand over

    You can use the agreed features with appropriate access rights.

Clear answers

Frequently asked questions

What should I provide for security camera at an apartment?

Send the exact camera model, a photo of the ground and the location where power or network cable is available. A standalone camera may require a recorder, memory card, or manufacturer account to use the desired features. Tell us that your request concerns adjust settings at an apartment. This helps the technician decide what else is needed before an appointment and proposal.

How do you assess adjust settings?

Mounting too high provides a view but costs recognition; we make that decision consciously per position. We assess the equipment already in place, record any issues and discuss additional work before carrying it out.

Can existing equipment continue to work with adjust settings?

A existing camera can often be reinstalled, but the required mounting foot differs depending on the model. We check each component. Send the model details and a description of the existing connection; without these we cannot establish compatibility or the scope of work.

When is the work at an apartment complete?

The camera is waterproof, aimed, named and added to recorder and app. We also confirm that The solution must not disturb other residents. You receive an explanation of the tested functions and any limitations. We discuss additional repairs separately.

AddedView →