
Reading the situation
Mount bracket, housing, lens and cable routing belong together. After a storm, lightning strike, facade work or a new viewing direction, not only the image but also power, mounting and recording must be rechecked.
A camera is only properly positioned when the recorded image shows the intended route usable. A higher position, wider angle, or optical zoom can actually reduce detail if the scene is not first reviewed.
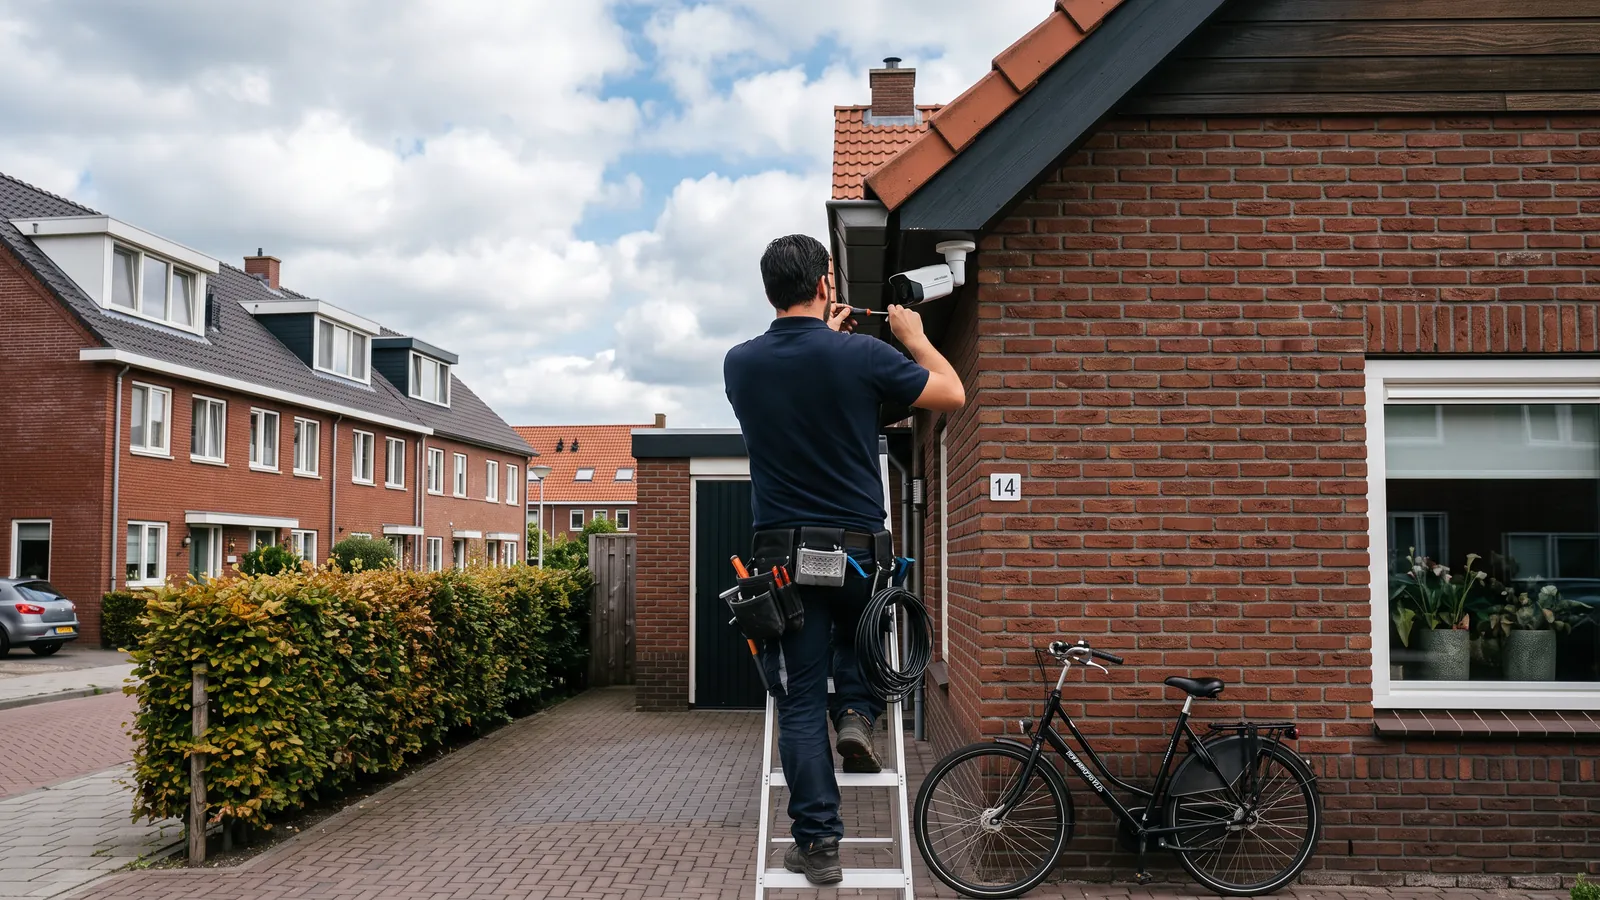
Mount bracket, housing, lens and cable routing belong together. After a storm, lightning strike, facade work or a new viewing direction, not only the image but also power, mounting and recording must be rechecked.
Determine the recognition distance and the relevant walking or driving route. Assess height, light, oncoming traffic, terrain, weather conditions, and any obstacles. Also check the usability of the overview with an optical zoom camera before zooming in on detail.
Replace or install a bracket and housing according to the exact model and make cable entry weatherproof. Then set the camera, focus and detection step by step. Do not change settings after an electrical event until damage and power are investigated.
Test day and night images from the actual route, locate the recording and check mounting stability. Record position, height, channel name, and any changes so that later maintenance does not depend on a visual estimate.
No. More height provides an overview, but can make faces and relevant details smaller.
Not always. Zoom changes the image, but does not replace the sightline, stable mounting or appropriate light.